다른거 찾다가 우연히 발견!!!
안해봤지만 저도 배우려고~~
Download The IOS Template
Lets get started. Download the IOS icon template from the resource list then open it up in photoshop. Once the PSD is open in photoshop locate a smart layer labelled "EDIT THIIS SMART OBJECT".
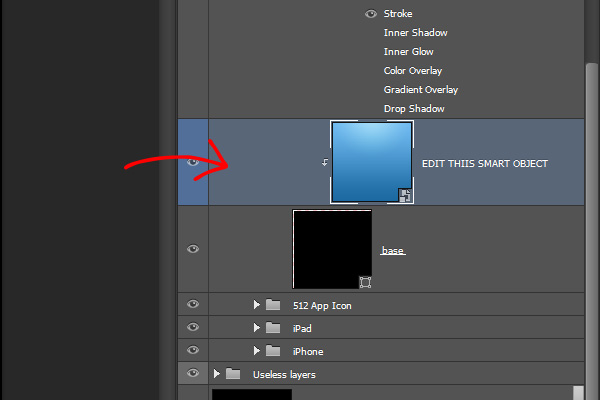
Once the smart object is open look inside of a folder called blue then delete the layer called "Lighting", while your in the layers window also delete the layer "Inset".
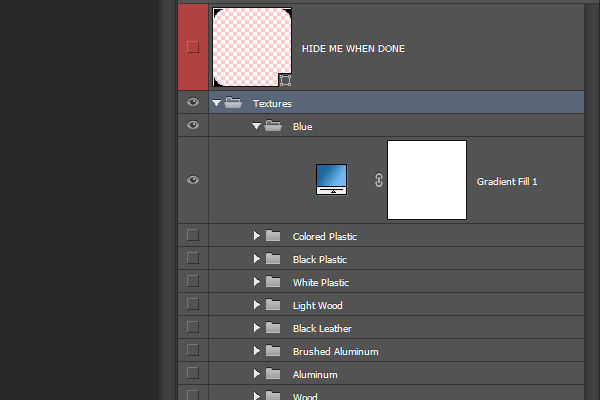
Now load a selection around the top layer called "HIDE ME WHEN DONE".
Tip
Load a selection around a layer by clicking the thumbnail inside of the layer whilst holding down the CTRL key on the keyboard.
Once the selection has been loaded select the "Gradient Fill" layer, right-click and select "Rasterize Layer" then hit the delete key.
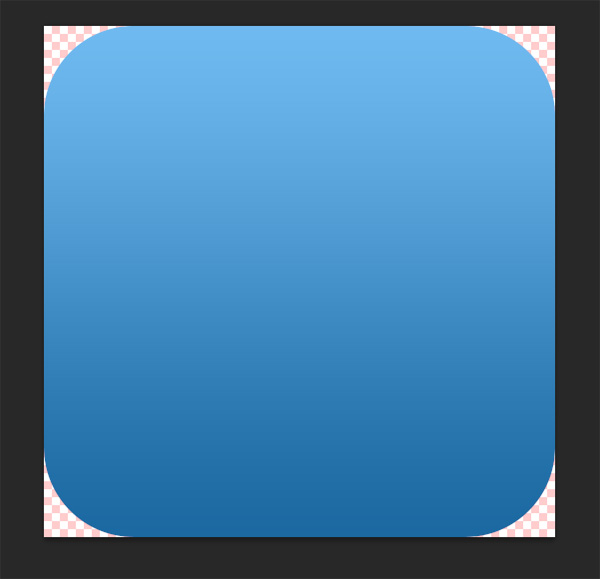
Drafting Out The Box
Select the "Rounded Rectangle Tool" (U) with a radius of "180 Pixles".
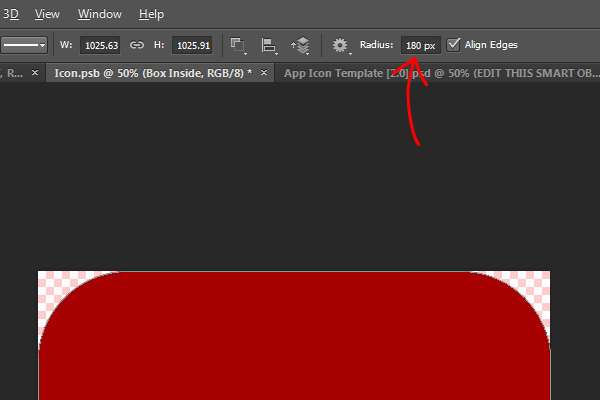
Re-create the blue square exactly as you see it, dragging a new rounded rectangle over the top.
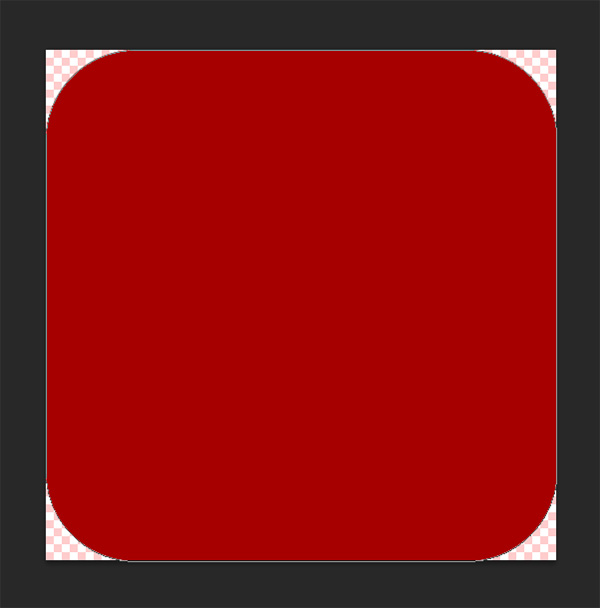
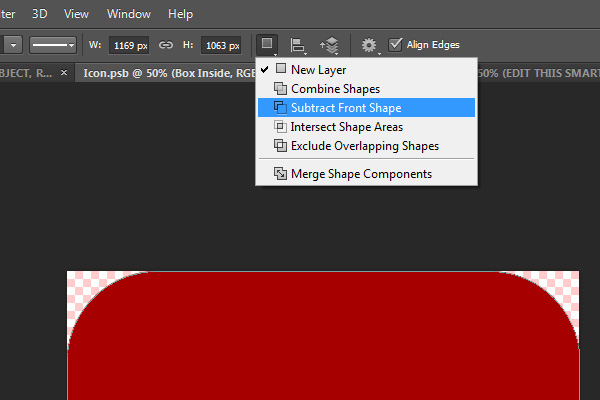
Once you've created a duplicate of the bottom rounded rectangle select the "Rectangle Tool" (U) then press "Subtract From Shape Layer" (-) from the tool bar at the top.
Now drag the rectangle over the bottom rounded corners, you should see the bottom half of the shape disappear.
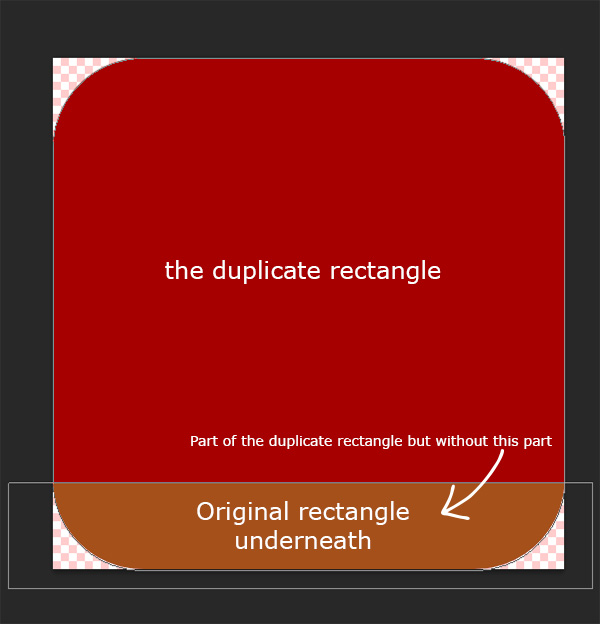
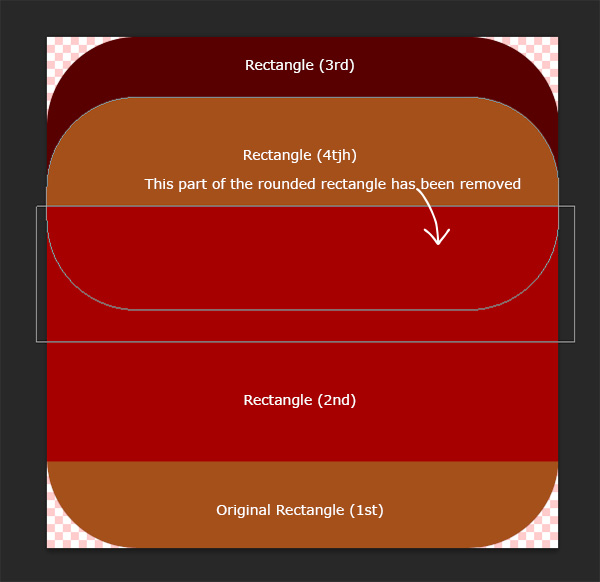
Repeat the process explained above only this time making the part we cut off slightly bigger, all will be explained when the pieces are all in place.
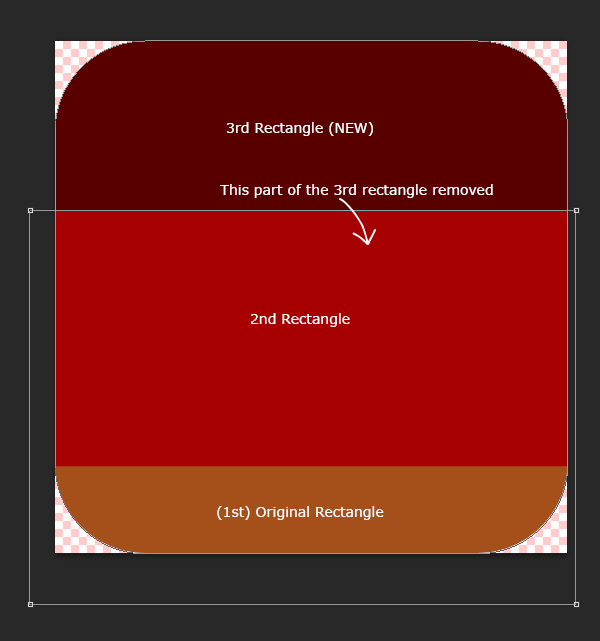
Create one more rounded rectangle like the image below, removing the piece specified.
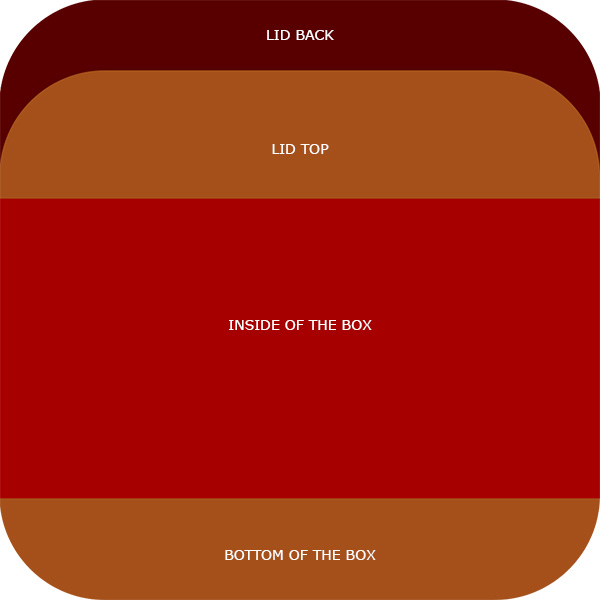
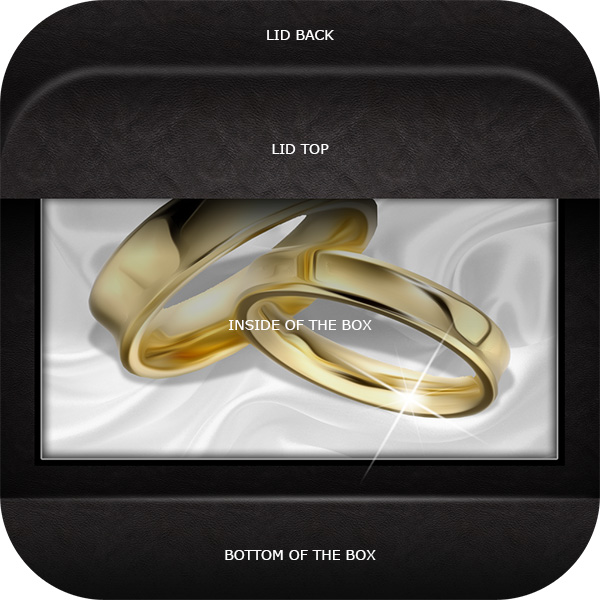
To understand what we've just created you need to compare the shapes to the original result of the icon. (Shown Below)
Adding The Texture To The Box
Download the fabric textures pack from the resources list and install them in photoshop.
Select the original rounded rectangle layer then add the following layer styles.
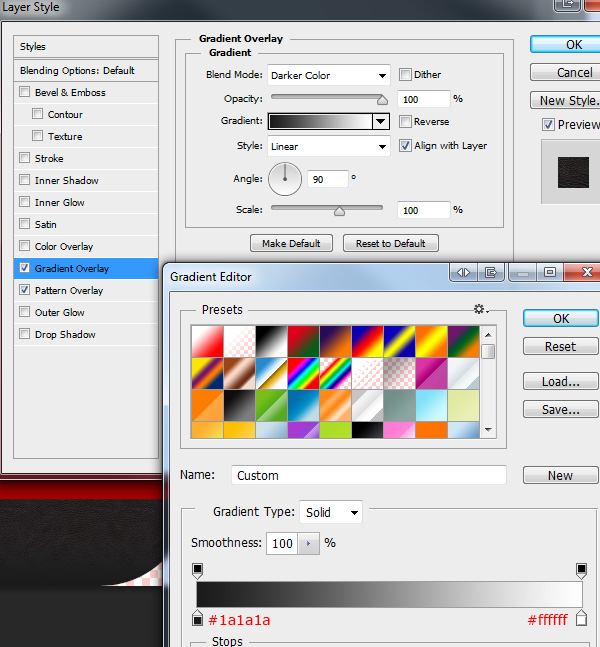
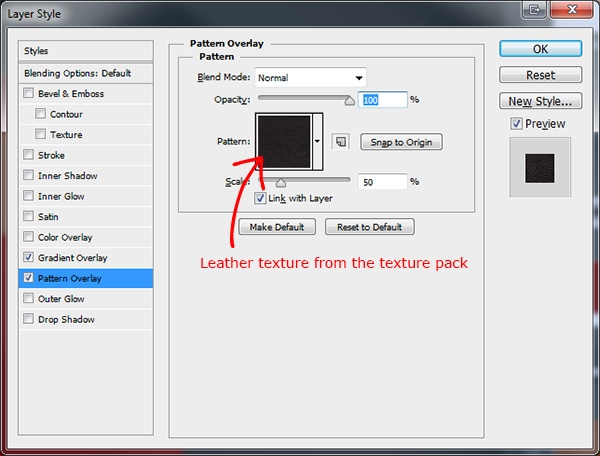
You should have something like this.
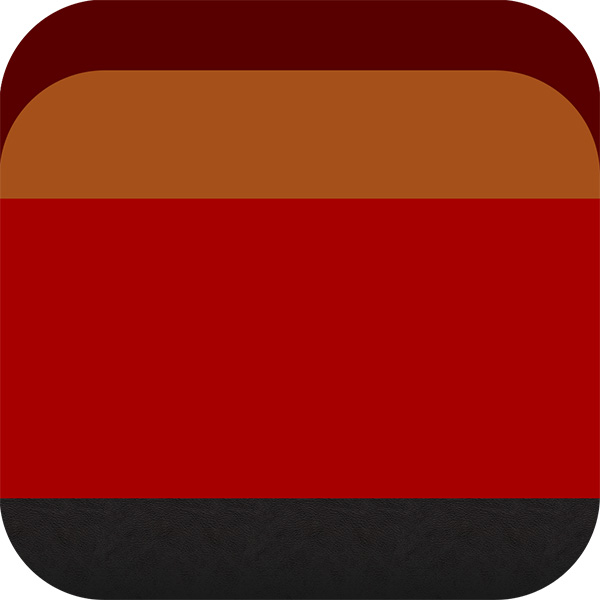
To the 2nd rounded rectangle add the following layer styles.
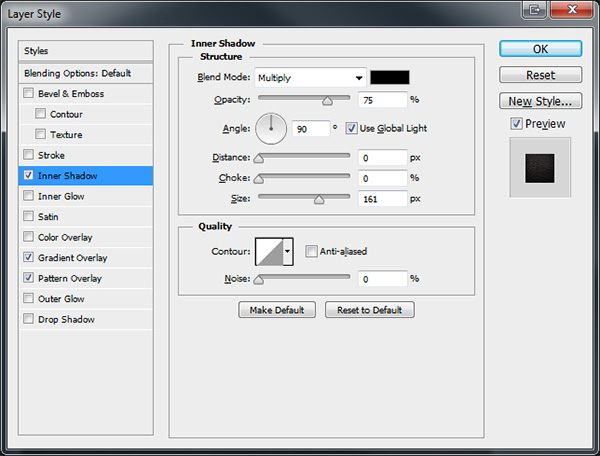
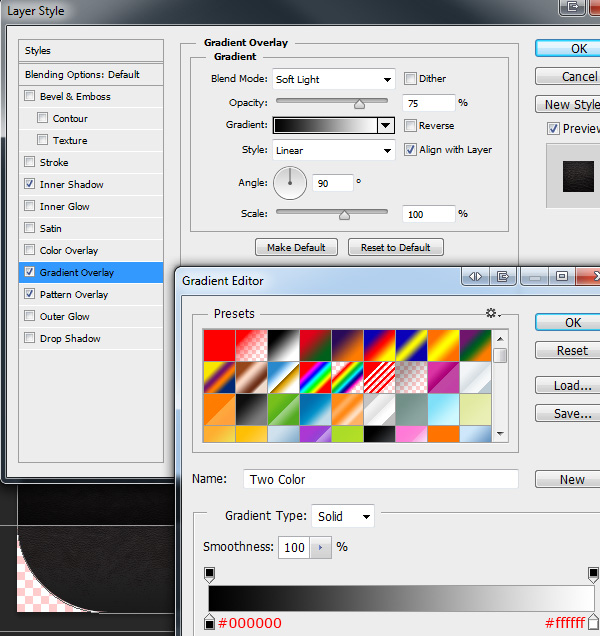
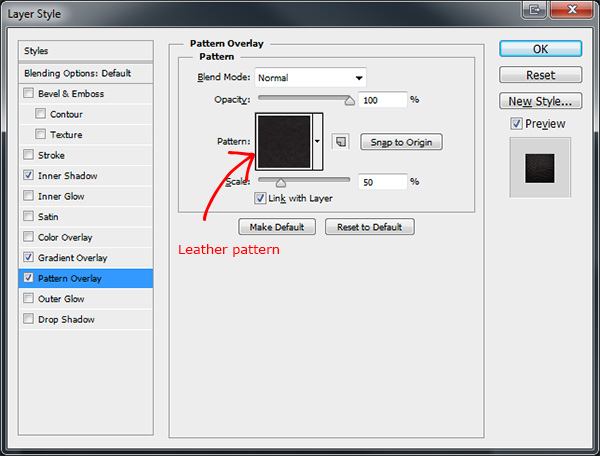
You should now have something like this.
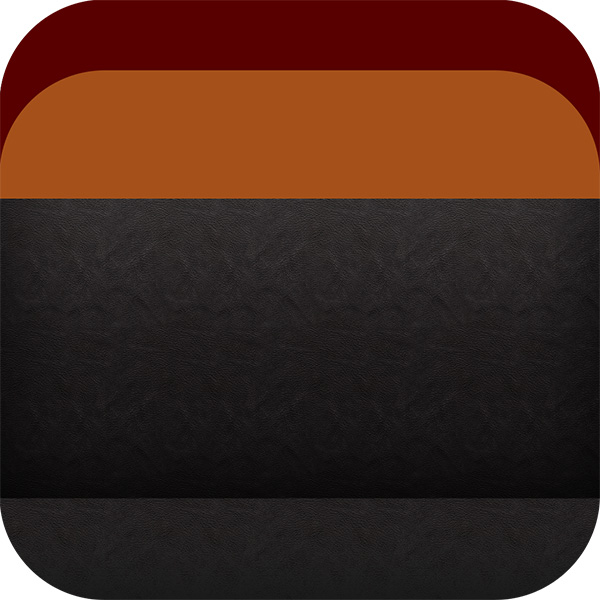
Add the following layer style to the 3rd rectangle layer.

Now finally add the following layer styles to the last rectangle.
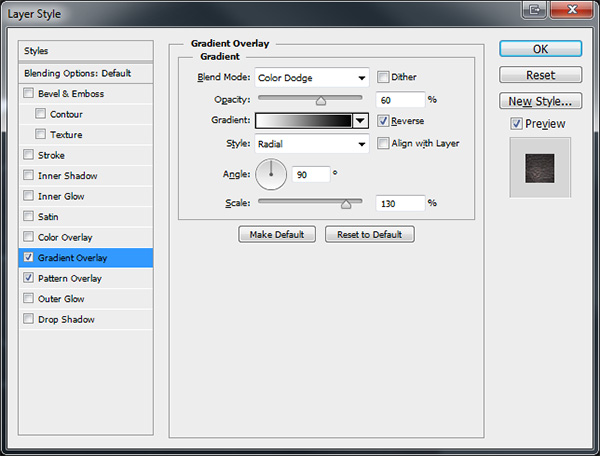
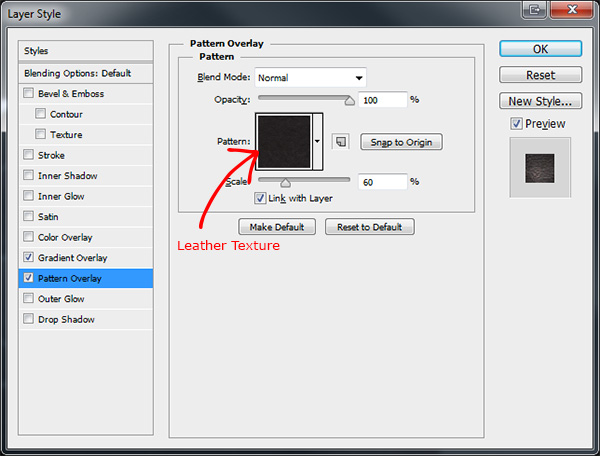
The jewelry box should now be drafted up and look something like this.
Creating The Inside, Ready For The Rings
On new layer above the 3rd rectangle layer, draw out a black rectangle using the "Rectangle Tool" (U). Try and keep gap between the rectangle and edge of the box consistent so it doesn't look out of place.
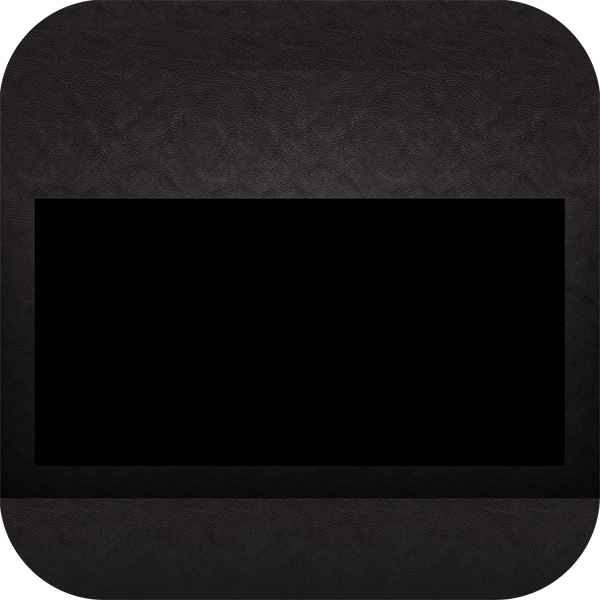
Once the black rectangle is in place, load a selection around it.
Tip
Load a selection around a layer by clicking the thumbnail inside of the layer whilst holding down the CTRL key on the keyboard.
Once the selection has been loaded go to "Select > Modify > Contract", contract the selection by around 10-12 pixels. Now download and open up the silk texture.
Copy (Ctrl + C) the silk texture to the clipboard then go to "Edit > Paste Special > Paste Into" (Alt + Shift + Ctrl + V). You should now be able to move the silky texture within the black rectangle. Press "Ctrl + T" for the "Free Transform Tool" then resize the texture so it just fits inside of the mask.
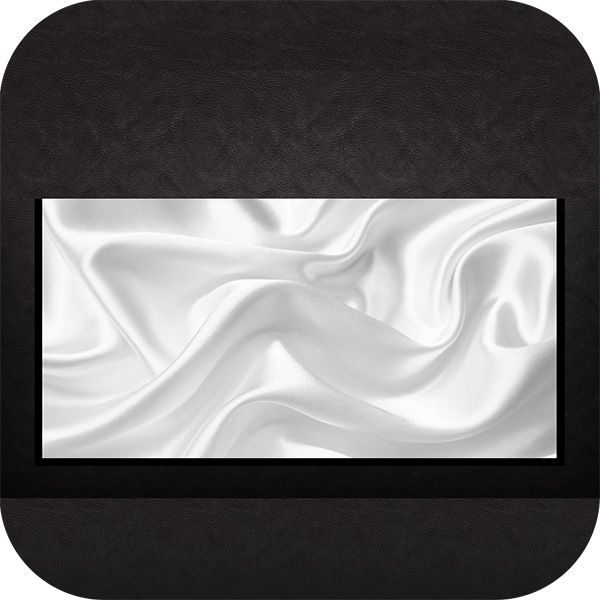
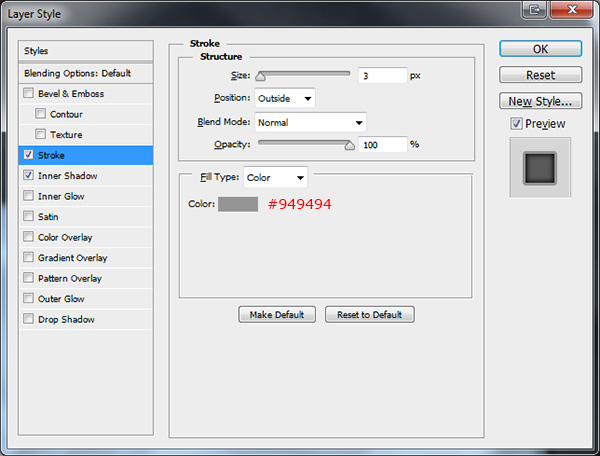
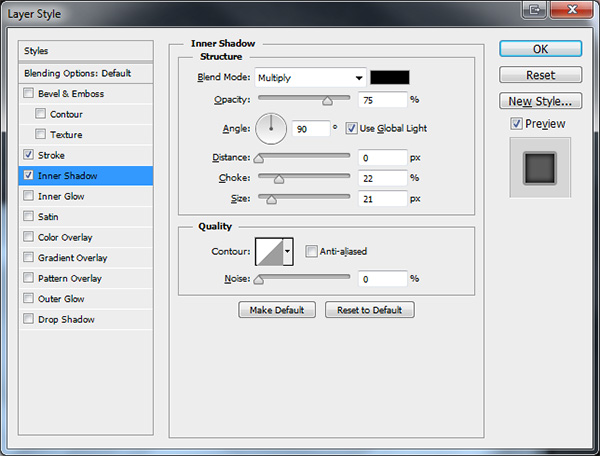
Once your happy with the resize and position of the texture add the following layer styles to the texture layer.
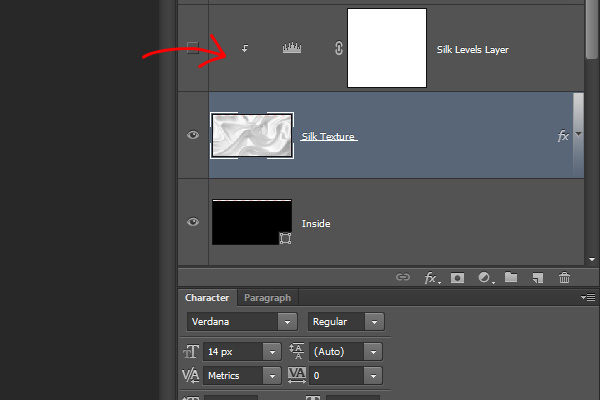
Create a new "Levels Adjustment Layer" above the silk texture using the following settings.
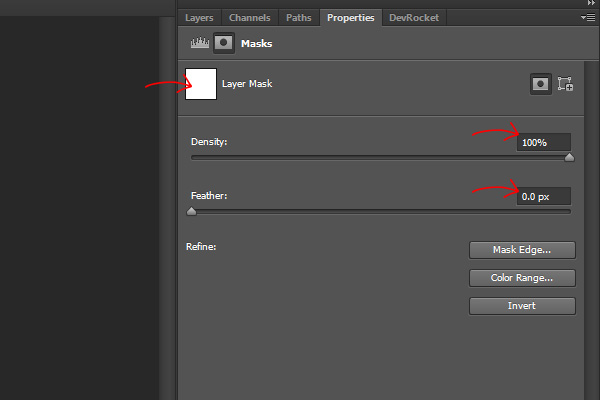
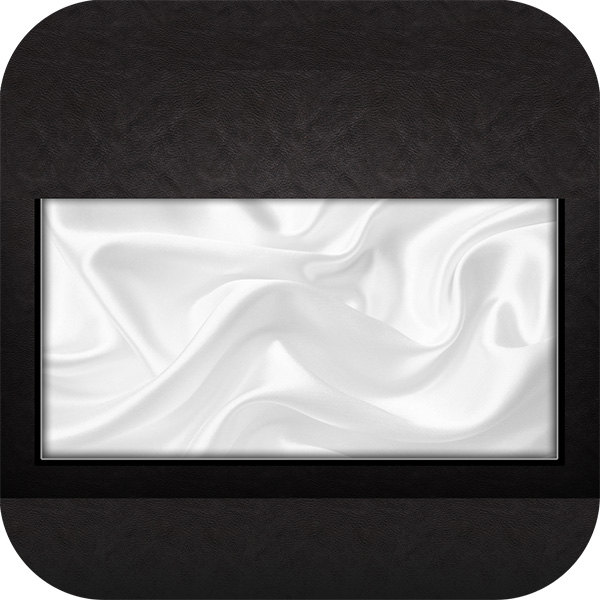
You should have something like this.
Creating The Jewelry Box Highlights
Select the "Ellipse Tool" (U) then drag out a narrow ellipse across the bottom where the edge of the box joins the inside of the box.
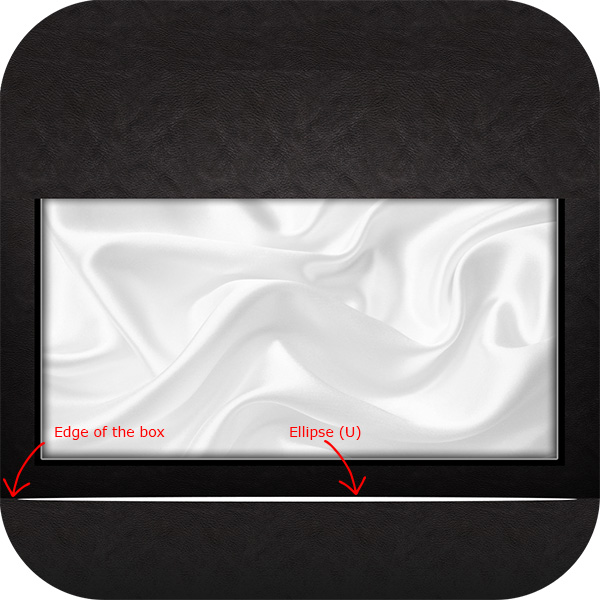
Once the ellipse has been created go to "Filter > Blur > Guassian Blur" then use the following settings.
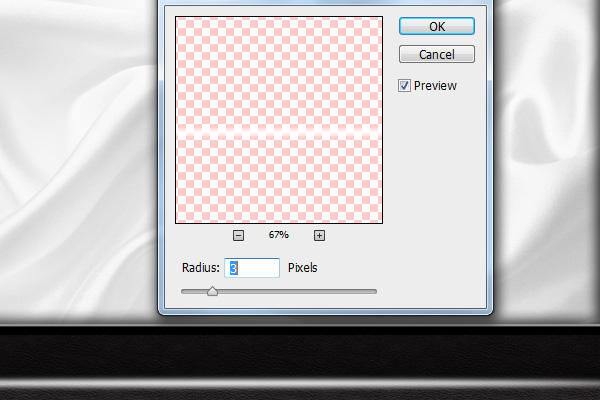
Set the layers opacity level to 50% then add a layer mask to the layer. With the layer mask added select the "Gradient Tool" (G) with a reflected gradient, then drag the gradient from the middle outwards so the blurred shape blends in either side.
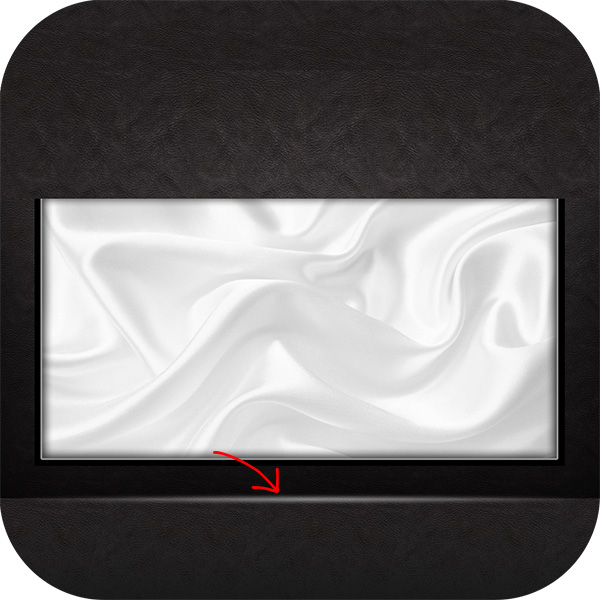
If you find the layer is still to light then lower the opacity a bit more. If you find the guassian blur has made the shape to big press "Ctrl + T" and vertically resize the shape to suit.
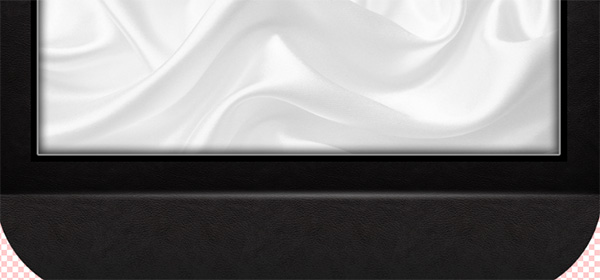
To finish off the bottom half of the box we need to add a bit of shading. Load a selection around your original rectangle.
Tip
Load a selection around a layer by clicking the thumbnail inside of the layer whilst holding down the CTRL key on the keyboard.
create a new layer above it the select the "Gradient Tool" (G) with a "Foreground to Transparent" gradient.
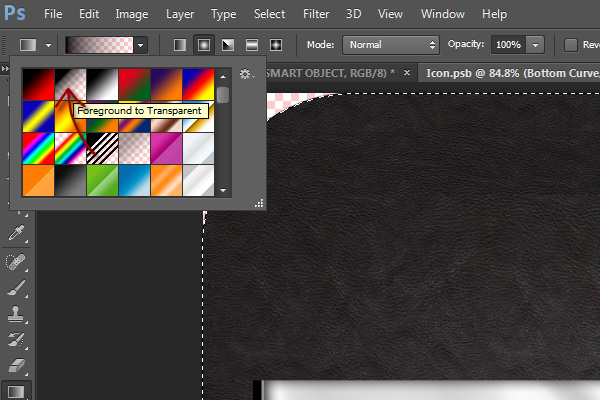
Drag the gradient from the bottom of the box upwards until you have something like this.
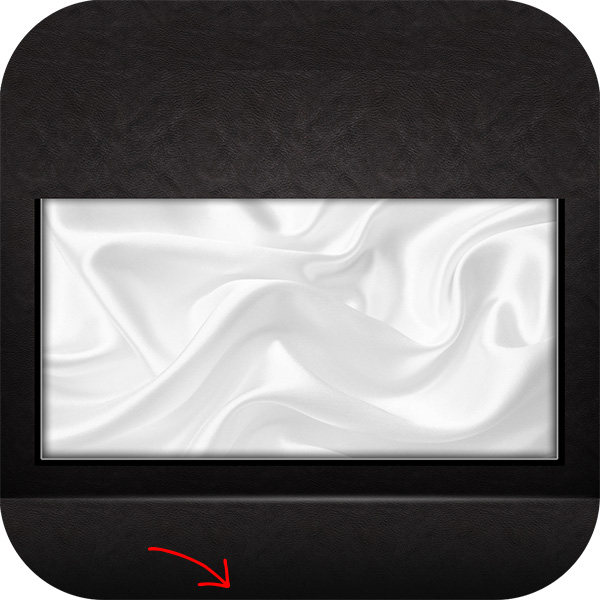
Creating The Jewelry Box Lid
Create a new layer underneath the 3rd rounded rectangle (Box Lid) we created, select the "Gradient Tool" (G) with a black to transparent gradient. Drag the gradient underneath the 3rd rectangle, make sure the layer is above the silk textured square.
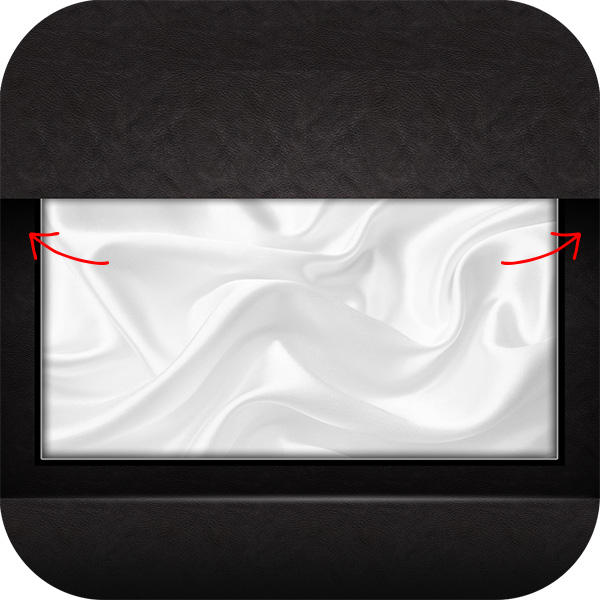
Do the same again only this time create the layer above the box lid layer (3rd Rectangle) dragging the gradient in the opposite direction.
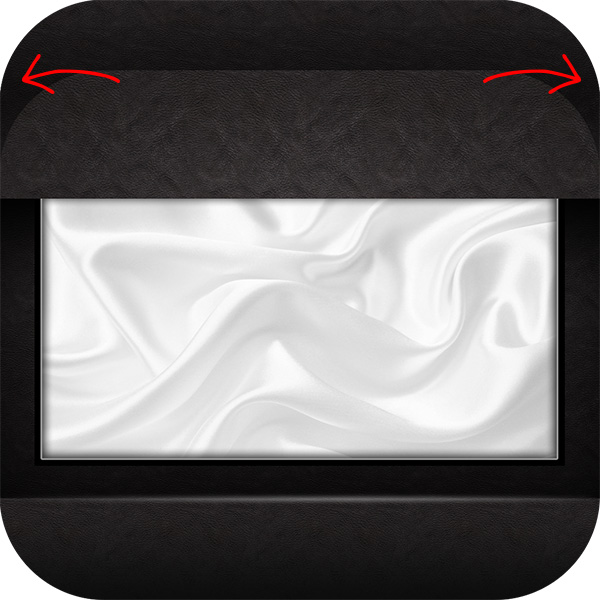
Load a selection around the top box lid layer (4th Rounded Rectangle), create a new layer above the box lid top layer (4th Rectangle) then drag the gradient in the selection in the opposite direction to the last gradient.
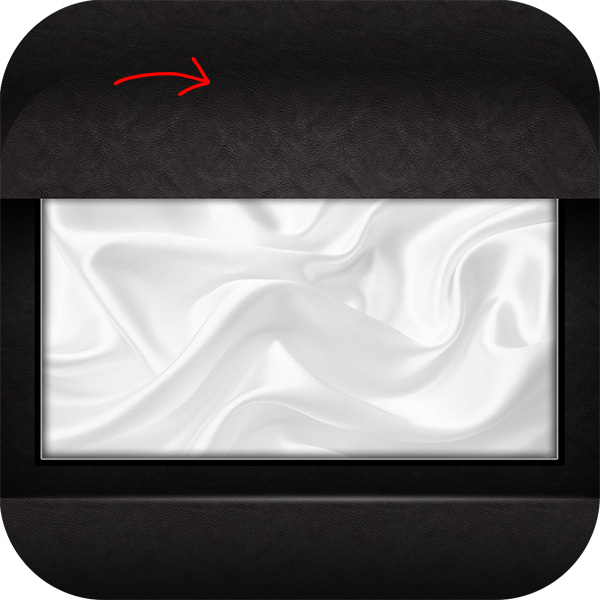
Were now going to spruce up the lid of the jewelry box. Load a selection around the box lid layer (4th Rectangle).
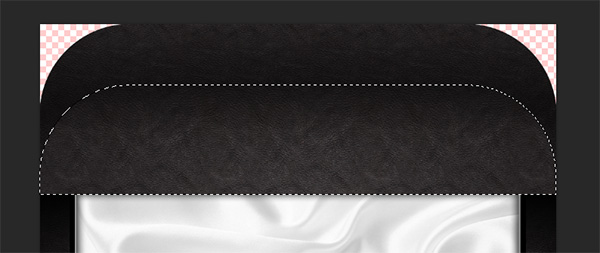
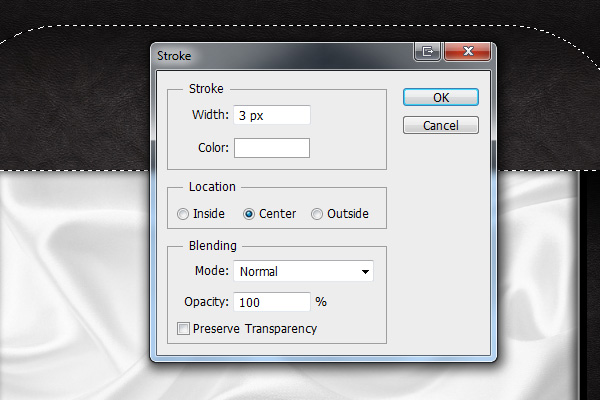
Set your foreground layer to the color white (#ffffff), create a new layer then go to "Edit > Stroke" and use the following settings.
You should be left with something like this.
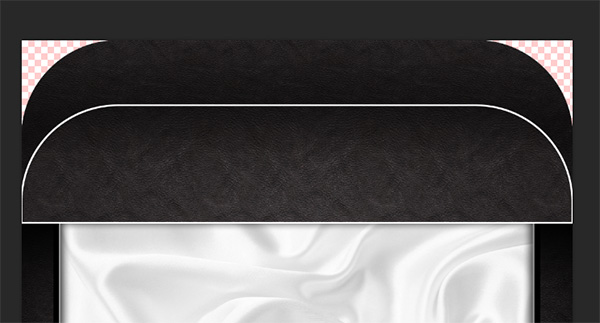
Cut away the bottom half of the stroke by selecting the "Rectangular Marquee Tool" (M) then make a selection around the bottom half of the stroke and hit delete.
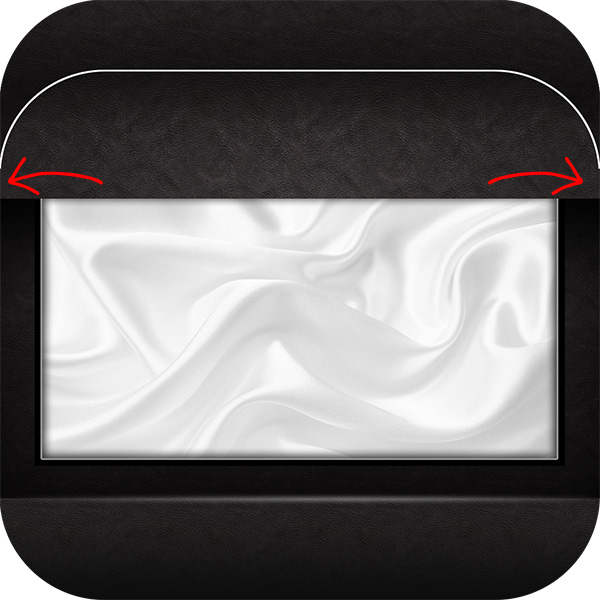
Now go to "Filter > Blur > Guassian Blur" use the same settings as we did from when we did the bottom of the box. Once blurred add a layer mask to the layer and drag a gradient over the stroke. Lower the opacity if needed.
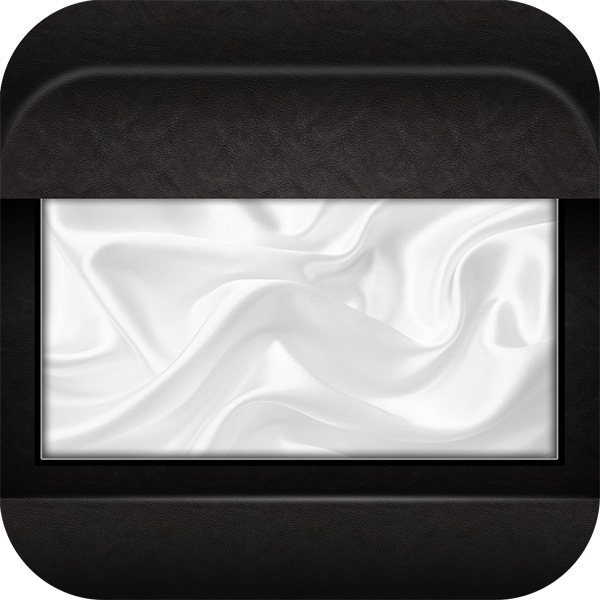
Finally we need to create the shadow which would be cast by the lid being open. Using the "Rectangular Marquee Tool" (M) make a selection on a new layer underneath the box lid.
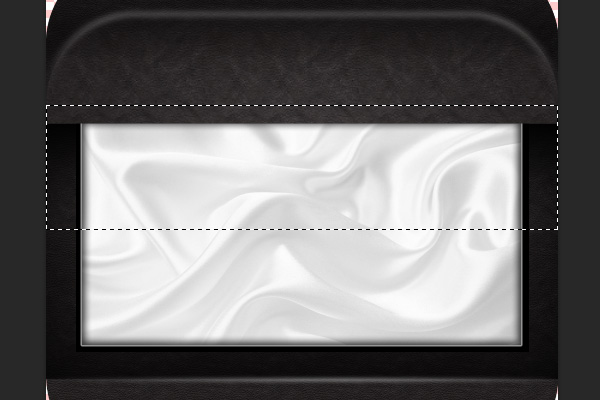
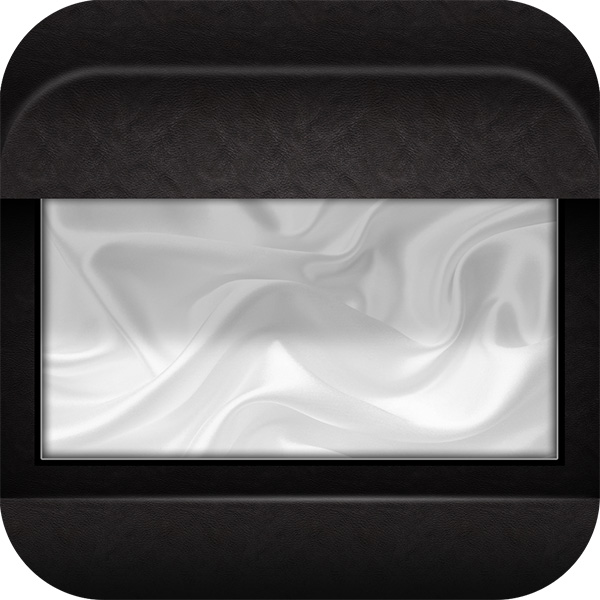
Fill the selection withe color black (#000000) then go to "Filter > Blur > Guassian Blur" the rectangle by around 3-5 pixels. Once blurred lower the opacity to around 20%. You should have something like this.
Adding The Rings
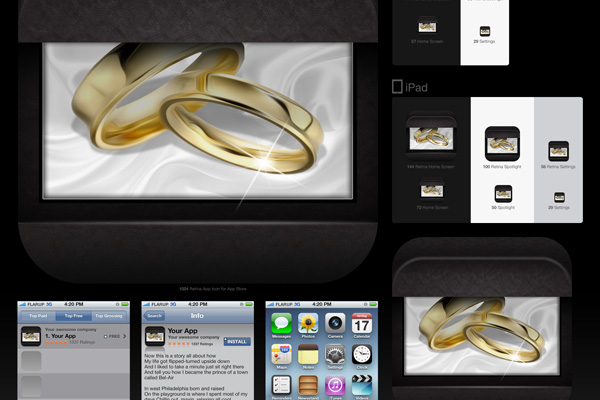
Download an appropriate set of rings alternatively you can create them yourself in illustrator. Remove the background from the rings then place them into the box.
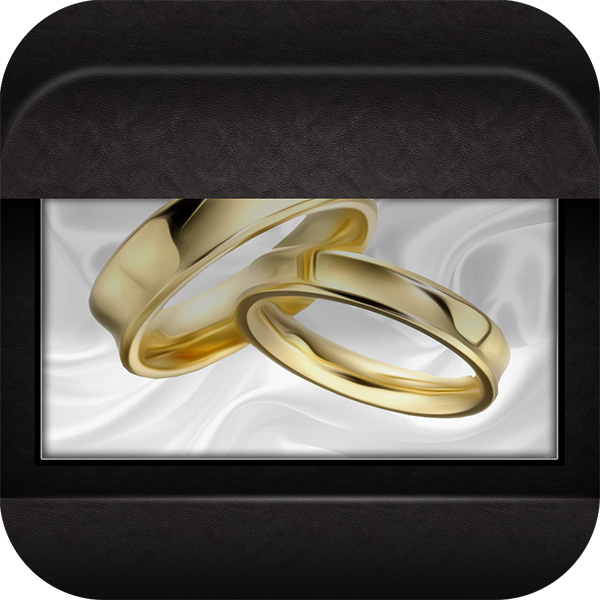
If your using adobe photoshop CS6 apply the "Oil Paint" filter by going to "Filter > Oil Paint". If you don't have CS6 don't worry. The whole idea is to just smooth the reflections on the ring so it doesn't look so realistic.
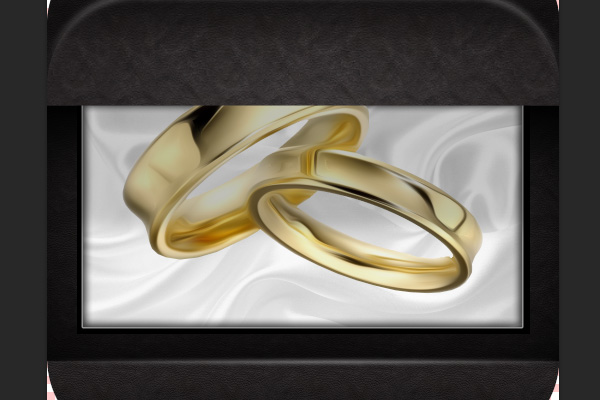
Duplicate the rings layer then add a black color overlay to the layer. Drag the duplicated layer underneath the original then set the opacity to around 25%. Now go to "Edit > Transform > Distort", select the top middle anchor and drag it down until you have something like this.
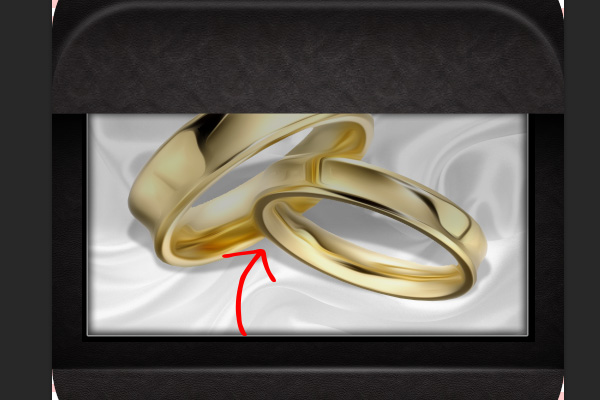
Finally load a selection around the rings then drag a foreground to transparent gradient over the ring on a new layer.
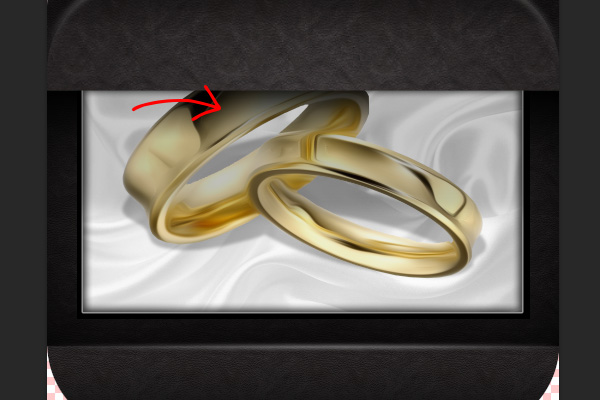
If you want to add a nice little twinkle effect using one of the brushes from the Bling Brush Pack noted below.

Conclusion
Read more: http://www.webdesign.org/photoshop/drawing-techniques/learn-to-create-a-jewelry-style-ios-icon.21696.html#ixzz24oPZoip0
